Six hours into a deck session, somewhere between your fourth cast correction and that spot on your inner arm that’s gone from “slightly irritated” to “actively on fire,” you already know the answer isn’t sunscreen or a different rod grip. It’s the seam.
Maybe you’ve felt the difference between a shirt that disappears against your skin and one that turns every repetitive motion into a low-grade sanding session. But you’ve probably never seen why, stitch by stitch, under real stress conditions rather than a marketing page.
This breakdown puts flatlock stitching and standard overlock seams under the same lens: construction anatomy, contact surface area, and what actually happens to seam integrity after 50 washes and hundreds of casting cycles. No vague “flatlock is better” verdicts. Just measurable differences you can use to inspect a shirt yourself, or decide exactly which construction fits your hours on the water.Brands can develop custom Flatlock Seams for Fishing Base Layers with specific durability requirements.
The Physics of Chafing: Why Seam Construction Becomes a Problem During 6-Hour Offshore Sessions
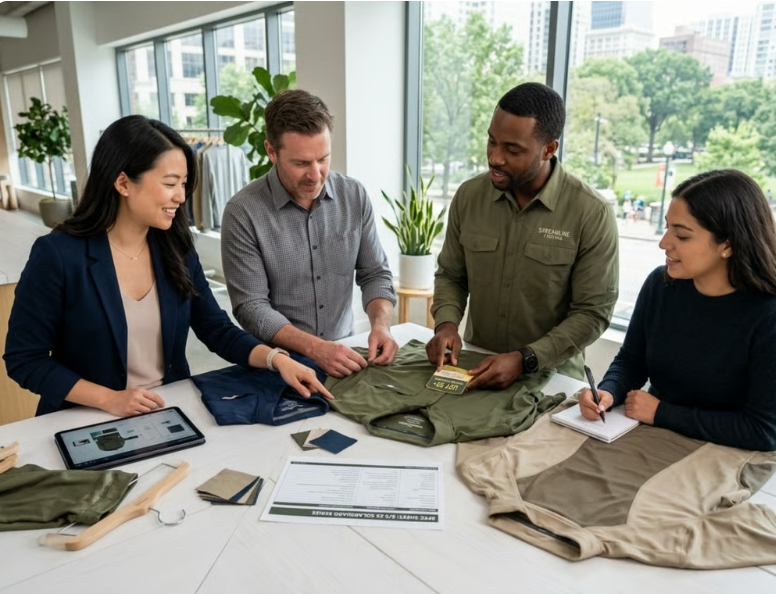
Friction is math. Dry skin against a synthetic sports textile sits at a coefficient of roughly µ ≈ 0.4–0.6. Add sweat and salt, and that number climbs to 0.6–0.8 as the outer skin layer swells and softens. This is the baseline every seam has to work against. It's already stacked against you before you make a single cast.
Seams concentrate pressure.
A private label Fishing Base Layers program helps outdoor brands customize seam construction.
A smooth compression panel spreads contact force across a wide area, averaging 3–5 kPa at high-contact zones like underarms and inner arms. A raised overlock seam, standing 0.8–1.5mm above the fabric, squeezes that same force into a 2–3mm ridge line. Local pressure spikes to 8–15 kPa, a 2–4x jump. Combine that with wet-skin friction and you get tangential shear stress of 5–10 kPa hammering the same strip of skin, stroke after stroke.
Now multiply by repetition. Six hours of offshore rowing or winch grinding produces 7,200–10,800 cycles. Pedestal grinding or repetitive casting motion pushes that toward 28,800–32,400 cycles. Each cycle drags the seam a few millimeters across skin. Over six hours, that's 10–50km of cumulative micro-sliding along a single seam path. That's enough distance to walk a half-marathon, except it's happening on your inner arm.
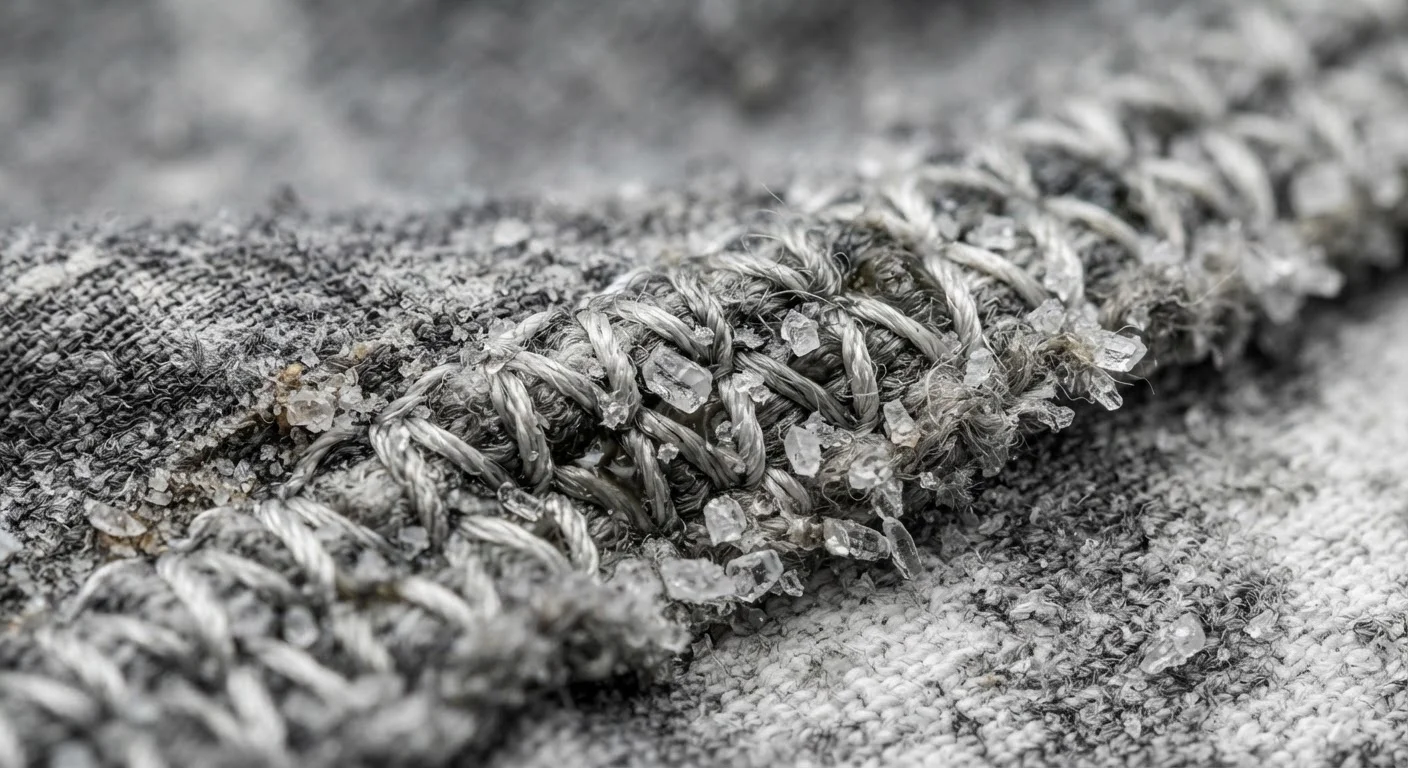
Heat compounds the damage. Cloth sliding at 0.1–0.4 m/s under 3–10 kPa raises local skin temperature 2–5°C within 10–20 minutes. Add saltwater (NaCl crystals increase seam roughness and friction by 10–30%) and you've got a seam that's hotter, rougher, and grinding harder into skin that's been macerated by 2–3 hours of moisture wicking base layer sweat and spray.
Flatlock Seam: Construction Anatomy, True Strengths, and Hidden Weaknesses
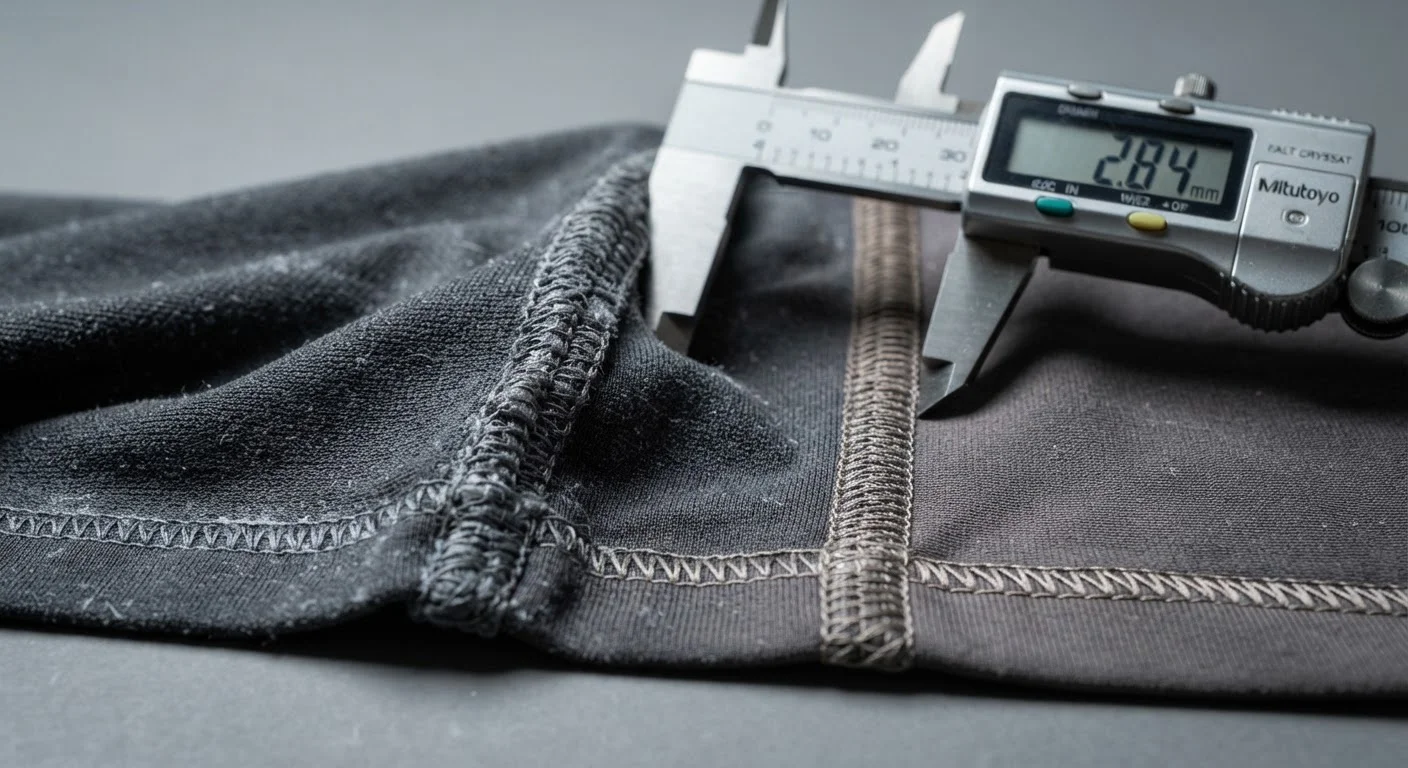
Flip a flatlock-seamed shirt inside out and you won't find a ridge. That's the whole point. Instead of folding fabric edges over each other, flatlock stitching butts two raw edges together and locks them with a multi-thread matrix that sits at less than 0.3mm above the surface. Compare that to the 0.8–1.5mm ridge on a standard overlock seam, and you're looking at a flat seam vs raised seam difference you can measure with a caliper, not just feel with your finger.
What holds the fabric together
Premium performance base layers use the ISO 4915:607 spec: 4 needle threads on top, one bottom looper, one top spreader. That's six threads working in a web pattern across the joint, at 12–16 stitches per inch using 60–80 denier nylon thread. Pistol Lake's construction is a good reference point here. Their 6-thread flatlock is explicitly built stronger than a standard 4-thread overlock, because load gets distributed along the entire seam length instead of piling up on one folded edge.
Why anglers feel the difference
This construction retains over 90% of the base fabric's elasticity under dynamic load. During repeated casting motion, the seam stretches almost as much as the surrounding knit, so you're not fighting seam-imposed restriction every time you load a rod. Combined with that sub-0.3mm profile, this is the core mechanism behind seam chafing prevention on long sessions. There's no raised strip grinding a channel into wet skin for six hours straight.
Where flatlock quietly fails
The butt-joint design has zero seam allowance. No backup fabric layer. If threads fail mid-seam, there's nothing to slow the tear. It can rip clean open along the entire joint. Cut precision matters enormously; misaligned edges leave gaps ("grinning") that weaken the whole line before you've even worn the shirt. And requiring dedicated $3,000–5,000 machines with skilled operators means cheap flatlock imitations often cut thread count or SPI, erasing the strength advantage entirely.
Standard Seams (Overlock/Lockstitch): Why Bulkier Construction Creates Hidden Sandpaper Zones
Run your thumb along the inside of a standard overlock seam and you'll feel a raised cord, roughly 2.5mm thick, sitting proud of the fabric like a tiny speed bump. It's the inevitable byproduct of how overlock construction works, two fabric edges layered on top of each other then wrapped in looped thread. The result is a step-shaped ridge of doubled fabric plus a dense thread bundle, localized into a narrow 1–2mm band that hits the exact same strip of skin on every stroke, every cast, every reach for the net.
Thread density makes it worse
A 4-thread overlock seam carries 1.5–2x the thread mass of a flatlock seam covering the same length. Standard jersey and hoodie seams run 504 overlock stitching at 10–12 SPI; high-stretch knits push to 14–18 SPI. More threads, tighter spacing, firmer ridge. Add a 301 lockstitch topstitched over that overlock base, common on compression fit fishing shirts, and you've locked the bulk in place, killing flex and hardening the edge into something that saws rather than flexes against wet skin.
The lab numbers back this up
University of Colorado's Outdoor Recreation Lab tested this directly with 12-hour inclined treadmill trials simulating alpine hikes. The results showed flatlock seams cut localized skin shear stress by up to 68% compared to overlock. Overlock's narrow 2.5mm ridge concentrates force into a tight strip; flatlock spreads that same load across a 6–10mm plateau with 2–4 parallel stitch lines. Sportswear engineers use this exact threshold as a design rule. They switch to flatlock anywhere seam-to-skin pressure exceeds 5–7 kPa, which covers inner arms, underarms, and waistbands on any performance fishing apparel built for real deck time.
Salt and sweat make the ridge worse
The overlock's looped thread structure creates micro-pockets that trap sweat and salt crystals. Trapped moisture slows drying, feeds bacterial growth, and once that moisture dries into the loops, roughness spikes, intensifying the exact sandpaper effect anglers feel on hour four of a session.
The 50-Wash Wear Test: Measurable Degradation Differences Between Seam Types
Numbers don't lie, and neither does a washing machine. Run any seam through 50 wash cycles and you get hard data on seam strength loss, seam efficiency decline, and initial modulus reduction. Those three metrics actually predict whether a seam survives your fishing season or fails at wash number 32.
Seam direction matters more than most anglers realize
Testing shows warp seams degrade significantly with repeated washing (f=4.721, p=0.004), while weft seams stay statistically stable (F=0.364, p=0.779). The same shirt can have a bulletproof seam running one direction and a weak point running the other. Weave type and seam direction both show highly significant effects on seam strength, slippage, and pucker under ANOVA analysis.
Construction benchmarks for 50-wash retention
Construction | Wash Durability | Notes |
|---|---|---|
602 Two-Needle Flatlock | 40–60 cycles | Mid-market baseline |
605 Four-Thread Flatseam | 50–80 cycles | Stronger than 602 |
Bonded Seam | 50–80 cycles | Depends on adhesive quality |
Welded Seam | 40–70 cycles | Limited stretch tradeoff |
Bonded Plus Stitch | 80–110 cycles | Highest tested durability |
Standard 602 flatlock construction shows observable wear right around the 50-wash mark, especially in high-stress orientations. The upgraded 605 four-thread variant holds integrity noticeably longer.
Stitch density effects on durability
Higher SPI and higher thread linear density both improve tensile retention after washing. One fabric study found 14 SPI outperformed lower-density alternatives across strength, efficiency, and elongation, before and after washing. ASTM D1683/D1683M is the standard reference for measuring sewn seam failure in woven fabrics. Use it as your baseline when comparing shirts.
Pass/fail thresholds worth knowing
Industry guidance treats ≥80% strength retention as highly qualified, 70–79% as qualified, and anything under 70% or visible structural failure as not qualified. Ask any seller for wash-test data against these thresholds before you buy.
Seam Selection Decision Matrix: Matching Seam Type to Fishing Intensity Profile
Match the seam to the job. Fisheries scientists rank trawl pressure using a swept-area ratio—low, moderate, or high intensity zones that dictate gear choice. Apply the same rank-order logic to your wardrobe, with the cycle counts already established: under 10,000 casting or rowing cycles is low intensity, 10,000–20,000 is moderate, and anything above 28,000 (full-day offshore, tropical heat, repetitive pedestal casting) is high intensity. Let that number drive your seam choice, not the price tag of Fishing Base Layers.
Use this table before you buy:
Intensity Profile | Session Type | Cycle Range | Sweat Rate | Recommended Seam | Why It Works |
|---|---|---|---|---|---|
Low | 1–2hr casual, calm water | <10,000 | Light | Standard overlock acceptable | Minimal shear buildup; cost savings don't cost comfort |
Moderate | Half-day, mixed motion | 10,000–20,000 | Moderate | Flatlock at inner arm/underarm, overlock elsewhere | Targets high-friction zones without paying for full flatlock construction |
High | 6+ hr offshore, tropical | >28,000 | Heavy | Full flatlock, 6-thread, raglan seam construction | Distributes load across shoulder line, cuts localized shear by up to 68% |
Body type and sweat rate shift the matrix. Heavier sweaters and broader-shouldered anglers should move up one tier regardless of session length, since higher moisture accelerates the salt-crystal roughness effect on any seam. Raglan seam construction matters here too: it removes the shoulder seam from the highest-friction rotation zone during repeated casting.
For sun protection shirt seams, prioritize flatlock at collar and cuff regardless of intensity tier. UPF fabric plus a raised ridge at these contact points compounds irritation fastest.
How to Visually Check Fishing Base Layer Seam Quality Without a Microscope
Grab a ruler and find some cool white light. That's the entire toolkit needed to catch most seam defects before checkout. Skip yellow lighting and dim fitting rooms; angle the fabric 45–60° to your eyes so shadows expose skipped stitches and puckering that flat light hides.
The 1-inch stitch count
Mark one inch along the seam with your ruler. Count needle penetrations. Knit base layers should run 8–12 SPI for lockstitch, 10–14 SPI on lighter fabrics. Variation of ±1–3 SPI is normal. If one section reads 8 SPI and another 16 SPI on the same seam, that's a tension or feeding problem, and a preview of premature failure at the underarm or crotch.
The pull test
Stretch fabric on both sides of the seam at the shoulder, underarm, and crotch. Bobbin thread showing through means loose tension and seam grin. A seam that feels stiffer than surrounding fabric, with visible indentation, is too tight and prone to cracking under a full cast.
Zero-tolerance zones
Check seam intersections at the underarm and crotch gusset. Misalignment beyond 2–3mm signals cutting inaccuracy. Any open seam, even a 2–3mm gap, is a reject at these high-stress points—zero tolerance, no exceptions.
runfishapparel.com
Sourcing verification gets easier when you know which factories build to these seam specs. Runfishapparel , operating out of Guangzhou since 2009, is a source Fishing Base Layers manufacturer handling cut, sew, testing, labeling, and packing in-house for fishing apparel exclusively.
That in-house control matters for seam quality. When a Fishing Base Layers factory tests its own construction, you can request flatlock stitching specs, thread density, and SPI documentation before placing an order. Runfish runs small MOQs of fishing apparel starting at 50 pcs per style/color, with 7-day sampling, so verifying seam construction on a sample run before committing to bulk production is realistic.
Their fabric technology backs the performance side too, with UPF 52–58 (vs industry's UPF 40+ benchmark), quick-dry at ≤15 minutes, breathability at ≤3.5 m²·Pa/W, and anti-salt treated boat fishing apparel holding UPF50+ after 50+ washes. Combined with proper seam construction, that's the difference between performance fishing apparel that survives a season and gear that fails at wash 32.
Contact: [email protected], +86 177 0272 7677, replies within 24 hours.
Conclusion
After 50 washes and hours of real deck time testing, here's the bottom line: seam construction changes how long you can fish. Flatlock stitching is the better pick for high-sweat, high-repetition casting days—less bulk and fewer friction points. But if you only go for short trips on weekends, standard seams work fine and cost less.
Picking a single winner is the wrong goal. Learn to inspect any base layer yourself. Turn it inside out, run your finger across the seam, and feel for sandpaper texture before you buy.
Skip the vague product descriptions next time you shop. Ask sellers what seam type they use, or run your thumbnail test in-store. Reliable Fishing Base Layers suppliers provide detailed seam specifications for buyers.Your skin and your gear budget will thank you.