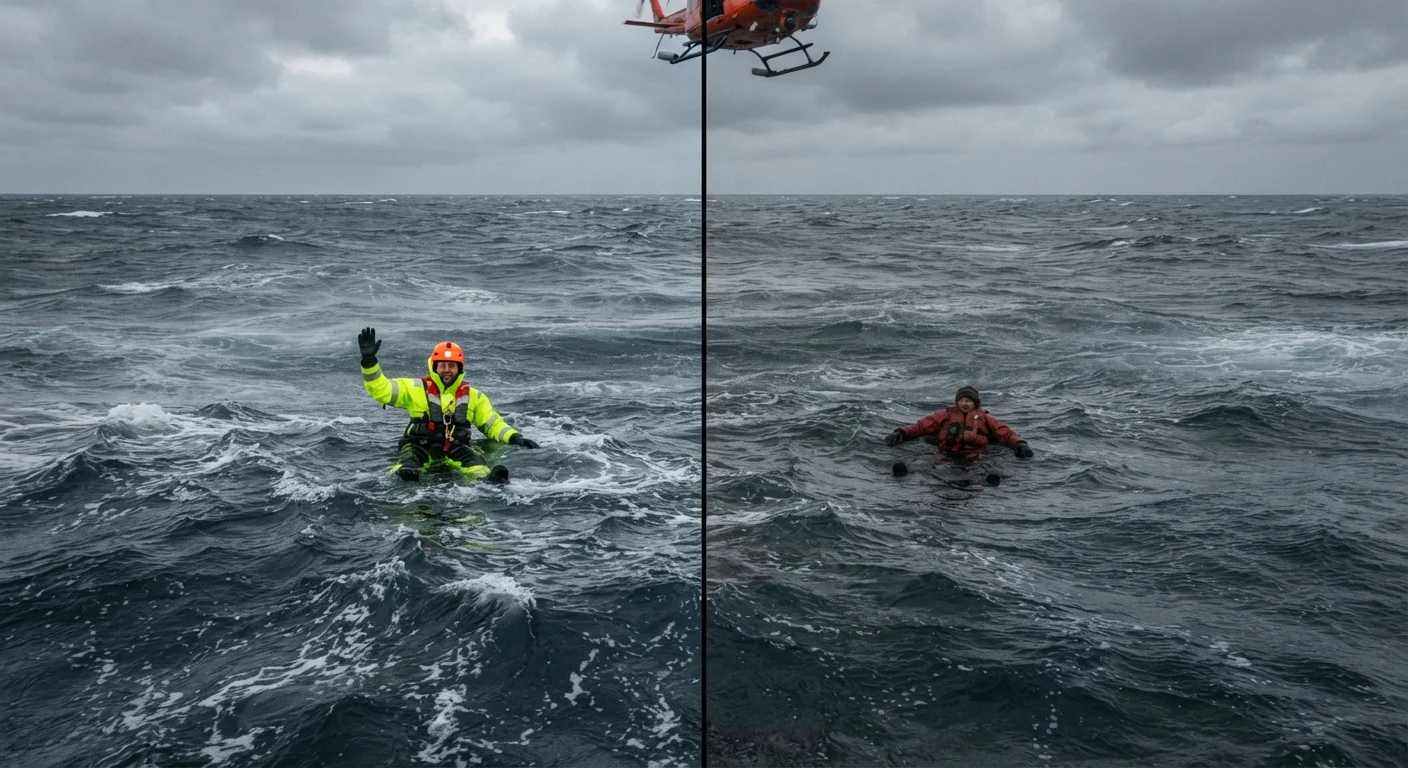
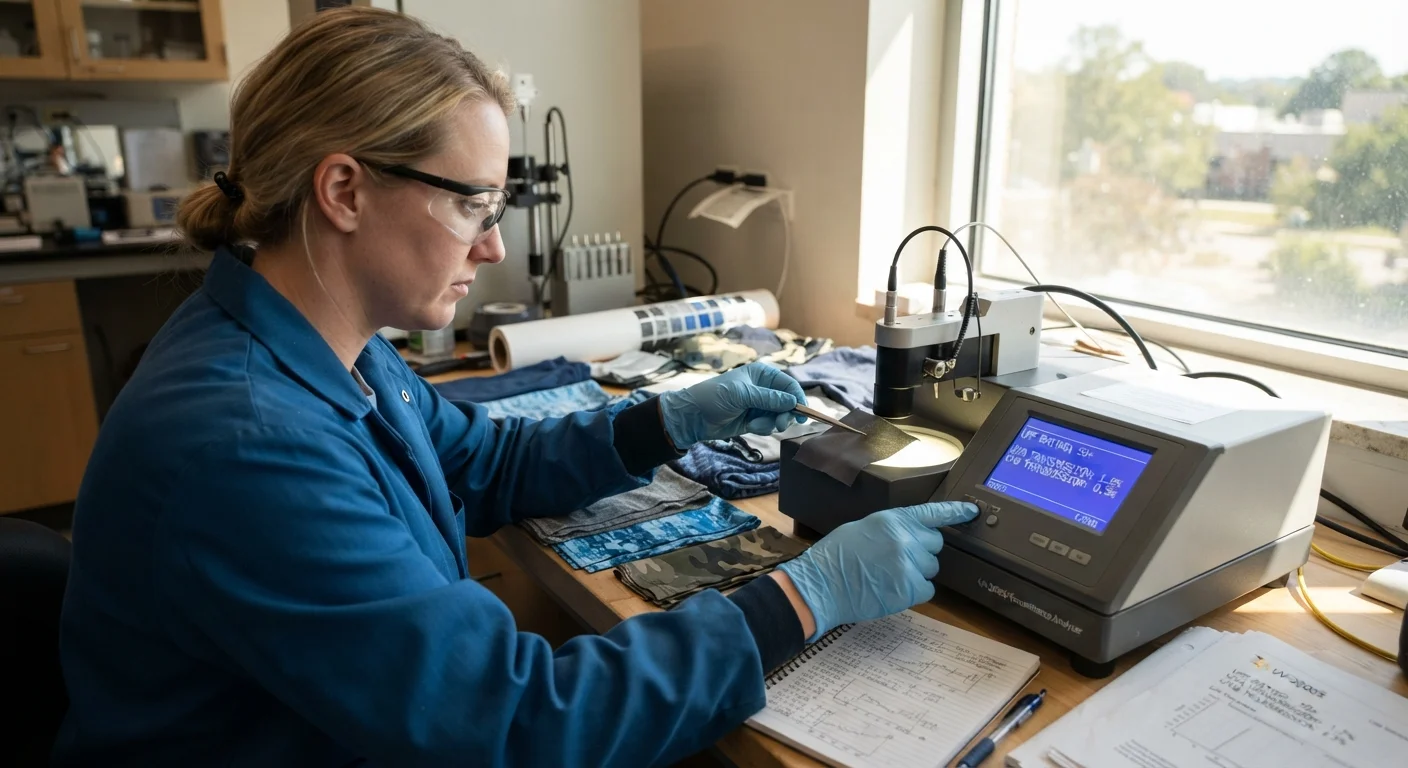
You just pulled your waders out of the bag, noticed a cold, wet patch creeping down your leg, and now you're staring down a trip that's supposed to happen in two days. Sound familiar? Before you drop another $200-400 fishing wader on a replacement pair, remember: most leaks can be fixed at your kitchen table tonight, whether it's a pinhole in Gore-Tex or a blown seam on neoprene.
You need to know exactly where the leak is hiding and which repair material matches your wader's fabric, because using the wrong glue turns a small fix into a bigger tear. Below, we'll walk through the bathtub test that pinpoints leaks in under 30 minutes, the material-specific patch methods that hold up cast after cast, and the cure times you need to know so you're not gambling on gear that's still wet inside when you hit the water.
Get the Right Wader Repair Kit Before You Start
A good wader repair kit costs less than a fast-food meal and takes up less space than your phone. Get your materials sorted before you touch a patch or squeeze a tube of glue. It determines whether tonight's fix lasts one trip or one season.
Every solid kit needs:
- Urethane adhesive (Aquaseal is the industry standard)
- Self-adhesive patches (Tenacious Tape-style flex patches work on most fabrics)
- A prep tool or brush for cleaning and applying
- Instructions specific to your wader material
Patagonia's Wader Repair Kit is a good benchmark. You get one tube of Aquaseal + UV Repair Adhesive, Tenacious Tape Flex Patches sized at 3" x 5", and a 0.25 oz adhesive tube. Everything fits in a glove box or vest pocket.Custom fishing wader options are available for different material and fit requirements. Mcnett/GEAR AID makes a similar compact version with two adhesive-backed patches, a 1/4 oz tube of Aquaseal urethane adhesive, and a brush. It is small enough to grab on your way out the door.
Urethane-based adhesives work across neoprene, rubber, nylon, vinyl, and Gore-Tex. But for pure neoprene, a dedicated kit like Ollyskins' Neoprene Repair Kit ($29) or an iron-on patch set (sealed at 135–150°C) holds better long-term than a generic tube.
Find the Leak in Your Waders Within 30 Minutes
Most anglers never find the actual leak — they spray Aquaseal everywhere and hope. That wastes adhesive and time. Here's how to pinpoint it.
The alcohol test works fastest for breathable Gore-Tex waders. Turn them inside out. Wipe or spray isopropyl alcohol on the inside fabric, focusing on seams and suspect areas. Watch the outside face fabric closely — a dark spot appears almost instantly, sometimes within a minute, right where the alcohol seeps through a pinhole. Patagonia recommends this method in their wader-care guides if you can't spot the leak by eye. Dry the exterior first, apply the alcohol pad inside, flip the waders right-side out, and check for that dark mark.
For neoprene or rubber waders, go with the bubble test. Trap air inside — a shop vac works, or inflate by hand — then spray the whole surface with soapy water. Bubbles form exactly where air escapes. No bubbles, no leak. The same method works underwater: submerge the waders section by section in a tub and watch for a steady stream of bubbles rising from the fabric.
No soap or alcohol on hand? Kill the lights, drop a flashlight inside the waders, and look for pinpricks of light escaping through the fabric in a pitch-black room.
Check the knees and legs first — that's where most leaks show up from kneeling on rocks and gravel. Whatever method you use, mark every spot with a Sharpie while it's still visible. Bulk fishing wader orders can also be specified by fabric, seam construction, and size range.Wet fabric dries fast, and you don't want to lose track of a pinhole you just found.
Confirm Larger Holes and Boot Leaks With a Low-Pressure Soap Test
Boot leaks hide differently than pinholes. They're bigger, often at seams you can't easily submerge, and the bathtub dunk won't catch them. That's what the low-pressure soap test is for.
Mix dish soap with water into a foaming solution and apply it directly to the boot seams, ankle joints, and any spot where you already suspect trouble, maybe from a previous patch job or a spot the alcohol test flagged. Keep pressure low. You don't need to inflate waders to max capacity. Somewhere around 2-5 psi is enough to reveal even small leaks that higher pressure might mask.
Read the bubbles carefully:
Tiny, slow bubbles = small leak, pinhole-sized
Vigorous, fast bubbling = larger hole, needs more adhesive coverage
Check every gasketed edge on rubber boots: the seam where the boot meets the leg, stitching lines, and any seal weld points. This method catches what visual inspection misses. Mark every spot immediately with a Sharpie before the soap dries and the bubbles disappear.
Prepare the Damaged Area for a Reliable DIY Wader Repair
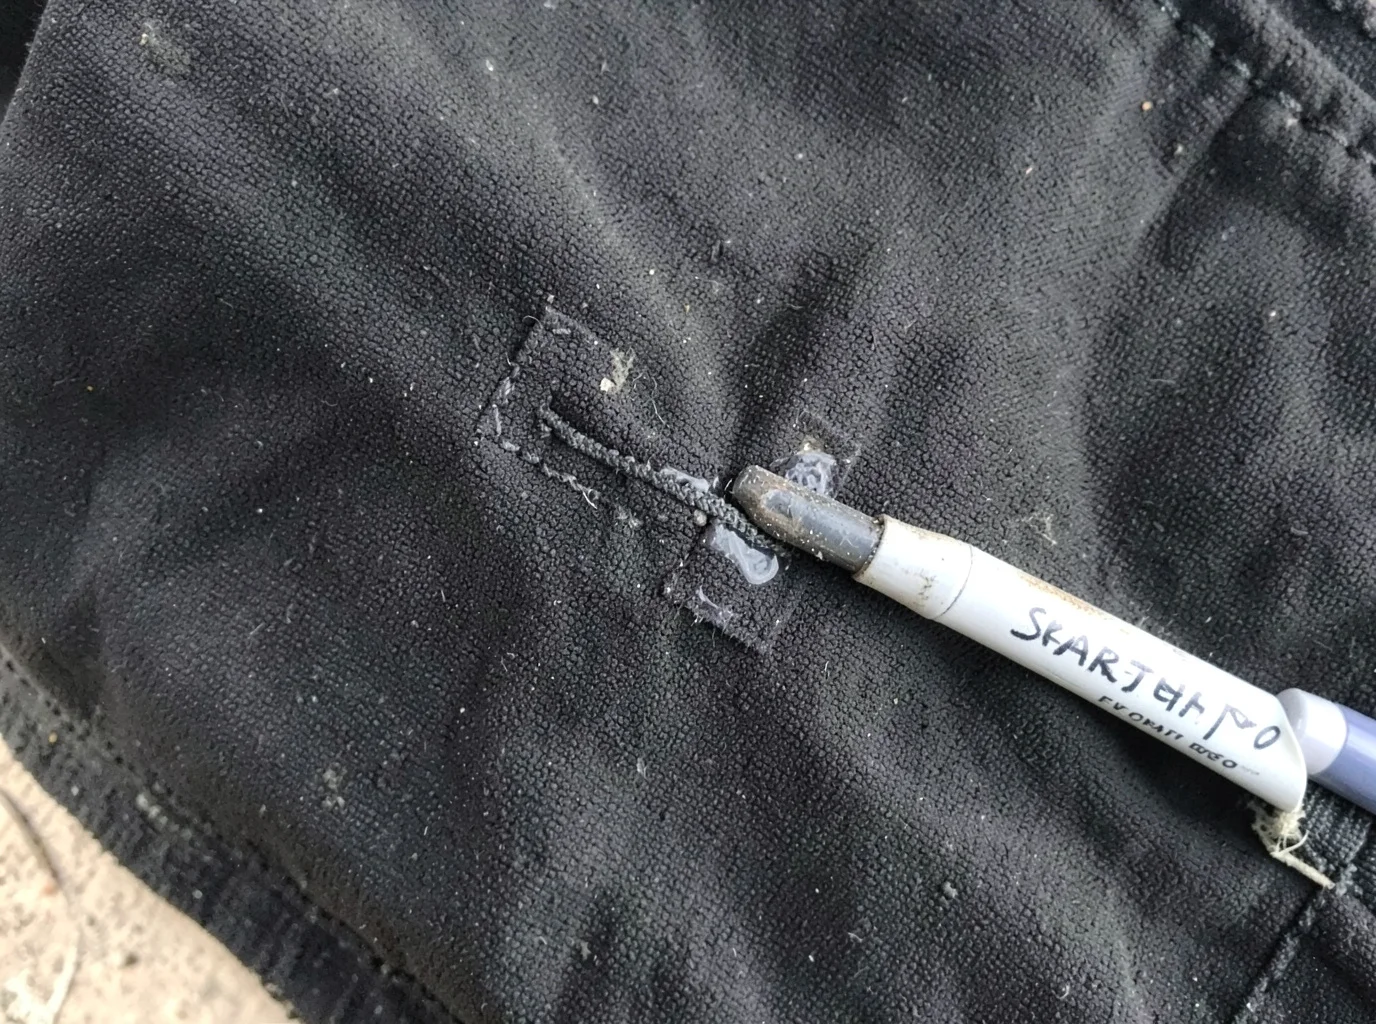
Skipping prep is the number one reason wader patches fail after one trip. Adhesive doesn't bond to dirt, oils, or damp fabric. It just sits on top and peels the first time you kneel on a rock. Get this stage right and your repair holds for a season.
Start with a clean surface. Wipe the damaged zone with rubbing alcohol on a lint-free cloth to strip away dirt, body oils, and any old adhesive residue. Let the alcohol fully evaporate before touching a patch or tube.
Dry time matters more than most anglers think. Surface-dry isn't the same as fully dry. If you fished today, don't repair tonight. Some guides recommend waiting a full 24 hours indoors so trapped moisture inside the fabric has time to escape. Rushing this step means sealing water inside your patch.
Trim before you patch. Cut away any frayed edges, peeling seam tape, or delaminated fabric. Adhesive needs stable material to grip. Patching over loose fibers creates a second failure point.
Sanding depends on material. For neoprene, a light scuff with 220-grit sandpaper roughens the surface enough for better adhesion (some guides suggest 400–600 grit specifically for neoprene edges). Skip sanding entirely on Gore-Tex or other breathable laminates. Sanding can damage the membrane. Clean it instead.
Prep a generous perimeter. Clean at least 2–3 inches around the damage, since your patch should extend a minimum of 3/4 inch beyond the tear on every side.
Back it up. Slide a piece of thin LDPE plastic behind the hole so adhesive doesn't bond to the opposite interior wall of the wader. Tape the outside edges down to keep glue from spreading past the repair zone.
Patch Pinholes in Gore-Tex and Other Breathable Waders
Gore-Tex doesn't forgive rough treatment the way neoprene does. This membrane is thin, breathable, and layered, so the repair method has to respect that structure.
Choose your weapon based on hole size. A patch does the job for small tears and rips. For true pinholes, micro-perforations, or leaks hugging a seam where tape gets awkward to apply, liquid adhesive wins. Aquaseal UV is built for instant field repairs to minor tears and pinholes in waders and rainwear. It cures on contact with sunlight or a UV flashlight. For a longer-lasting seal, Aquaseal Urethane Repair Adhesive works on Gore-Tex, felt soles, and other breathable fabrics. It doesn't need UV light to set.
Patch placement matters. Gore-Tex's own repair guidance says patches go on the outer textile layer , never the interior membrane. Think of them as a bandage that buys you a season, not a lifetime.
Sizing and Application
Cut your patch so it overlaps the damaged area by at least 1 cm on every side — roughly half an inch beyond the hole's edge — and round the corners. Sharp corners peel first; rounded ones stay stuck.
The process itself is simple:
Clean the area (you already did this in prep).
Smooth out any wrinkles in the fabric before applying.
Peel the backing and press the patch firmly into place.
Run gentle heat over it with a hairdryer or iron on low to strengthen the bond.
Most Gore-Tex repair kits ship with two precut adhesive patches, often 10 cm × 5 cm rectangles and a 7.6 cm round option, so trimming usually isn't necessary.
Let it cure 12–24 hours. Hang the waders inside-out during that window and keep weight off the suspenders. Once you're back near a service center, get the patch checked by an approved Gore-Tex repair provider. This field fix keeps you fishing, but it's not the final word on that hole.
Repair Neoprene Wader Holes and Rubber Boot Sections
Neoprene doesn't play by Gore-Tex rules. It's thicker, it's rubber-based, and it needs a different chemistry to bond correctly. Use the wrong adhesive here and you'll end up with a patch that peels off mid-cast instead of one that lasts a season.
Match the adhesive to the damage type, not just the material.
Neoprene waders or wetsuits: Aquaseal FD is your best bet. It's a contact cement-style urethane adhesive that chemically bonds to neoprene and cures into flexible rubber, so it resists abrasion instead of cracking under it.
Rubber boots or boot sections: Same Aquaseal FD works here, or reach for Stormsure. Both are flexible urethane sealants built to stay waterproof on rubber without stiffening over time.
Iron-on option: Tenacious Tape's Neoprene Patch (10" x 6", black) skips liquid adhesive. It sticks to neoprene, rubber, lycra, spandex, and latex, so it's a solid backup if you don't want to deal with cure times tonight.
Step-by-Step for Neoprene and Rubber Repairs
Clean and dry the area before touching any adhesive. Neoprene holds moisture longer than you'd think, so give it extra time.
Pinholes get a thin adhesive film. Spread it thin, let it settle into the material instead of sitting on top.
Larger holes need a patch plus sealant. Apply the adhesive first, press the patch into place, then seal the edges.
Back the hole with sticky tape on the opposite side before applying adhesive. This stops seepage and keeps glue from bonding to the wrong layer.
Cure time depends on whether you use an accelerator. With one, Aquaseal FD sets in about two hours. Without it, budget 8–12 hours before you trust the seal.
For a full kit, GEAR AID's Wader and Boot Repair Kit packs 0.25 oz of Aquaseal FD with two 3-inch Tenacious Tape patches (clear and black). You'll find larger 0.75 oz tubes in related listings if you're patching multiple spots. The High 'N Dry Wader Boot Repair Kit uses 3M 5200 Marine Sealant instead, which also bonds rubber boots, breathable fabrics, and neoprene in one tube.
Fix Leaky Wader Seams and Failed Seam Tape
Seams fail differently than fabric. A pinhole is a single weak spot; a seam has dozens of tiny needle holes. When the Fishing Wader factory tape starts peeling, water finds every single one. Slapping sealant over loose tape won't stop it. You have to fix what's underneath.
Repair guides point to Gear Aid's Aquaseal FD and Seam Grip WP for this job. Both cure into flexible waterproof rubber designed for wader seams.
The Seam-Tape Repair Workflow
Turn waders inside out and find the peeling section.
Peel back only the loose tape. Leave anything still bonded alone—you're not stripping the whole seam.
Warm the edge with a hair dryer on low if the tape resists lifting. Gentle heat softens the old adhesive without damaging the fabric.
Clean the exposed stitch line with isopropyl alcohol and let it fully evaporate.
Run a thin, continuous bead of sealant directly over the stitching, extending about 1/4 inch beyond the tape edge on both sides. Skip the thick glob. A controlled, even coat bonds better than excess sealant piled on top.
Press the tape flat back into place over the fresh sealant, then hold it down with clamps or a stack of heavy books overnight.
Don't flex the seam while it cures. Movement during the setting window breaks the bond before it hardens.
Skip duct tape and generic hardware-store sealants. They don't flex with neoprene or Gore-Tex and fail within a trip or two.
If the seam leak overlaps an actual puncture, don't rely on sealant alone. A patch extending at least 3/4 inch past the damage in every direction gives you a second layer of protection the stitching itself can't provide.
Apply and Cure Adhesive Under the Right Conditions
Room temperature isn't a suggestion — it's the difference between a patch that bonds and one that peels off in the river. Aquaseal and similar urethane adhesives cure best between 59°F–77°F (15°C–25°C) with 40%–60% relative humidity . That's your safe window. If you're working in a garage in winter or an attic in July, move the operation somewhere climate-controlled.
Temperature swings change everything about your timeline:
Cure time roughly halves for every 8–10°C increase in temperature
It roughly doubles for every 8–10°C decrease
Below 41°F (5°C) , most one-component adhesives won't cure at all
Humidity matters just as much for moisture-cure adhesives. Higher humidity speeds curing; drier air slows it way down. At 20% RH , a moisture-cure sealant can take 72 hours to fully set through a 6mm bond line. At 80% RH , the same repair cures in 18 hours .
For one-component polyurethane adhesives, budget 24–48 hours at room temperature and average humidity. High humidity can shrink that to a few hours. Arid conditions can stretch it past 2 days. Don't rush this step — a wader patch that feels dry on the surface after an hour isn't the same as one that's chemically cured underneath.
Test Whether the Wader Repair Is Actually Waterproof
A patch can look dry without being sealed. Check it before you trust it on the water.
Fill test for below-the-knee repairs. Fill the leg with water up to just above the patch, then hold it upright for 15–30 minutes. Watch the repair zone for seepage, dampness, or any drip forming around the edges. No change means you passed.
Alcohol test for Gore-Tex. Turn the waders inside out again. Wipe rubbing alcohol over the repaired spot. A dark wet patch on the outer fabric means the fix didn't hold, and it'll show almost instantly.
Soap and air test for neoprene. Inflate with a shop vac, spray soapy water across the seam or patch, and check for bubbles. None means airtight.
Full immersion works for either material. Submerge the repaired section in a tub while inflated. A steady bubble stream from one point pinpoints exactly where it's still failing.
Pass all four checks — no bubbles, no darkening, no damp halo, no water-level drop — before you call the repair done. Fishing Wader manufacturers pressure-test their products twice during production. Your kitchen-table fix deserves the same scrutiny.
Prevent Recurring Leaks With Fishing Wader Maintenance
That fresh patch won't mean much if bad habits put a new hole right next to it. Build a five-minute routine after every trip and you'll cut repair frequency way down.
Turn waders inside out immediately after fishing. Hang them from both sides — inside and outside — in a spot with airflow. Skip the dryer. Heat breaks down seam tape and warps neoprene faster than normal wear does.
Fished saltwater? Rinse boots and waders with fresh water before hanging them. Salt crystals work into stitching and eat away at seam tape over time.
Check the usual failure zones before every trip: seams, stitching lines, pinholes near the knees, and zipper closures on dry-wader systems. Catching a hairline seam separation early beats discovering it mid-river.
Store waders bone-dry, inside and out. Trapped moisture breeds mildew and weakens the next adhesive bond you'll need.
Conclusion
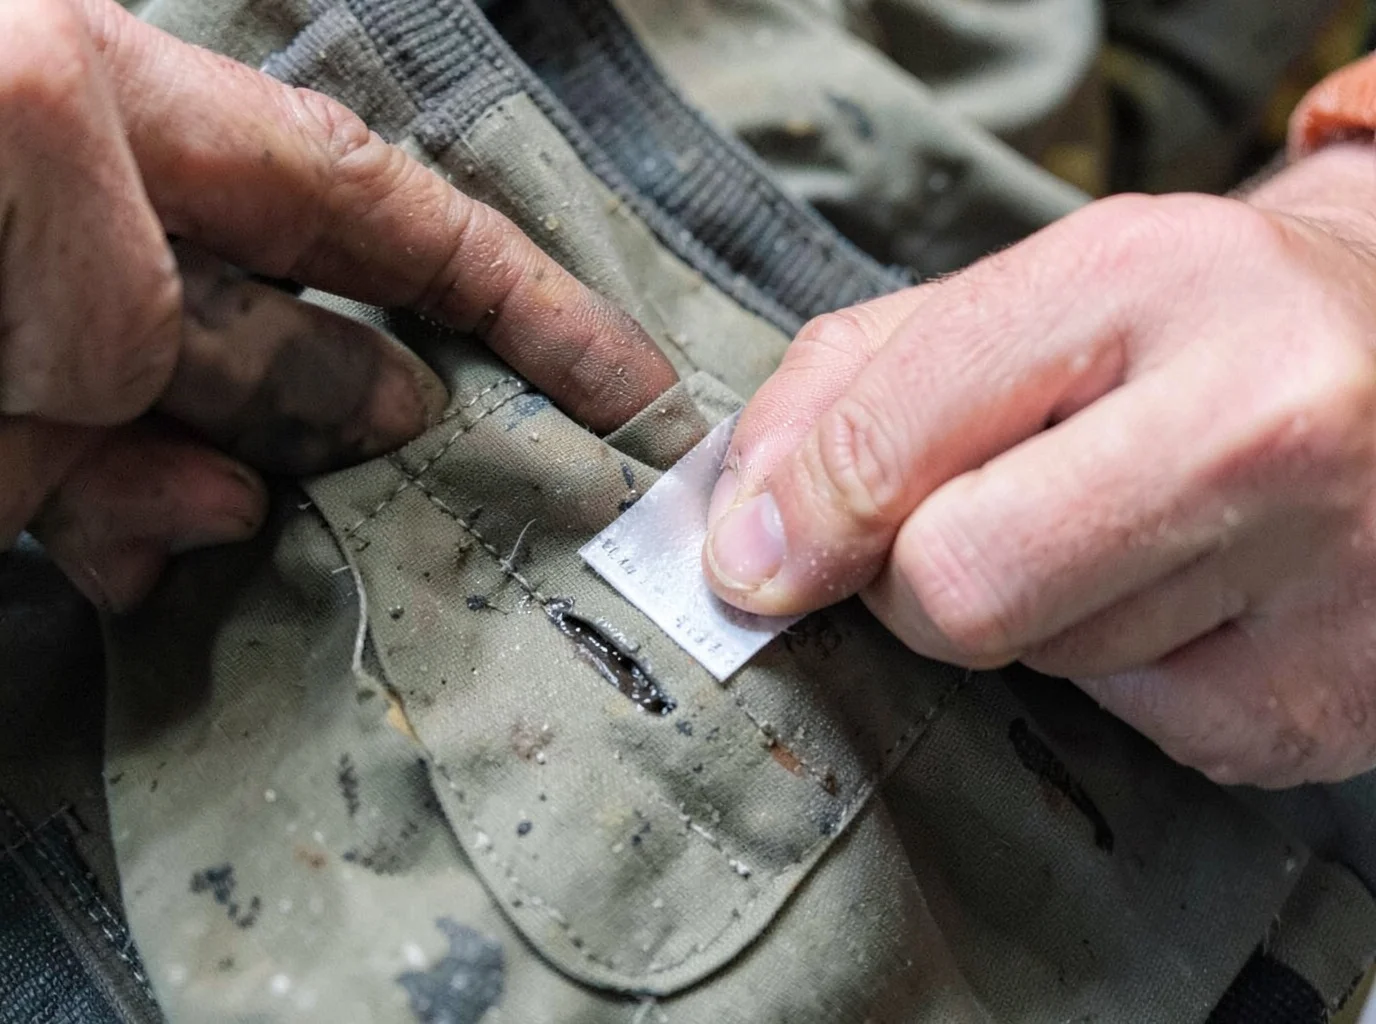
A leaky wader is a 30-minute problem with a $15 fix fishing wader. Find the leak with the bathtub test, match your patch material to your fabric (Aquaseal for Gore-Tex, neoprene cement for rubber), and never skip the cure time—rushing that step is the #1 reason repairs fail on the water.
Build yourself a proper wader repair kit now, before you’re standing in a river at 6am watching your boots fill up. Keep it in your truck or tackle bag alongside a small tube of seam sealer, because seams give out again eventually, even on good pairs.
Do the soap test after every repair, no exceptions. If it holds air, it’ll hold water. Skip that step and you’re just gambling with a $300 pair of fishing waders and a wet, miserable day of fishing. Patch it right, test it twice, and get back on the water with confidence.