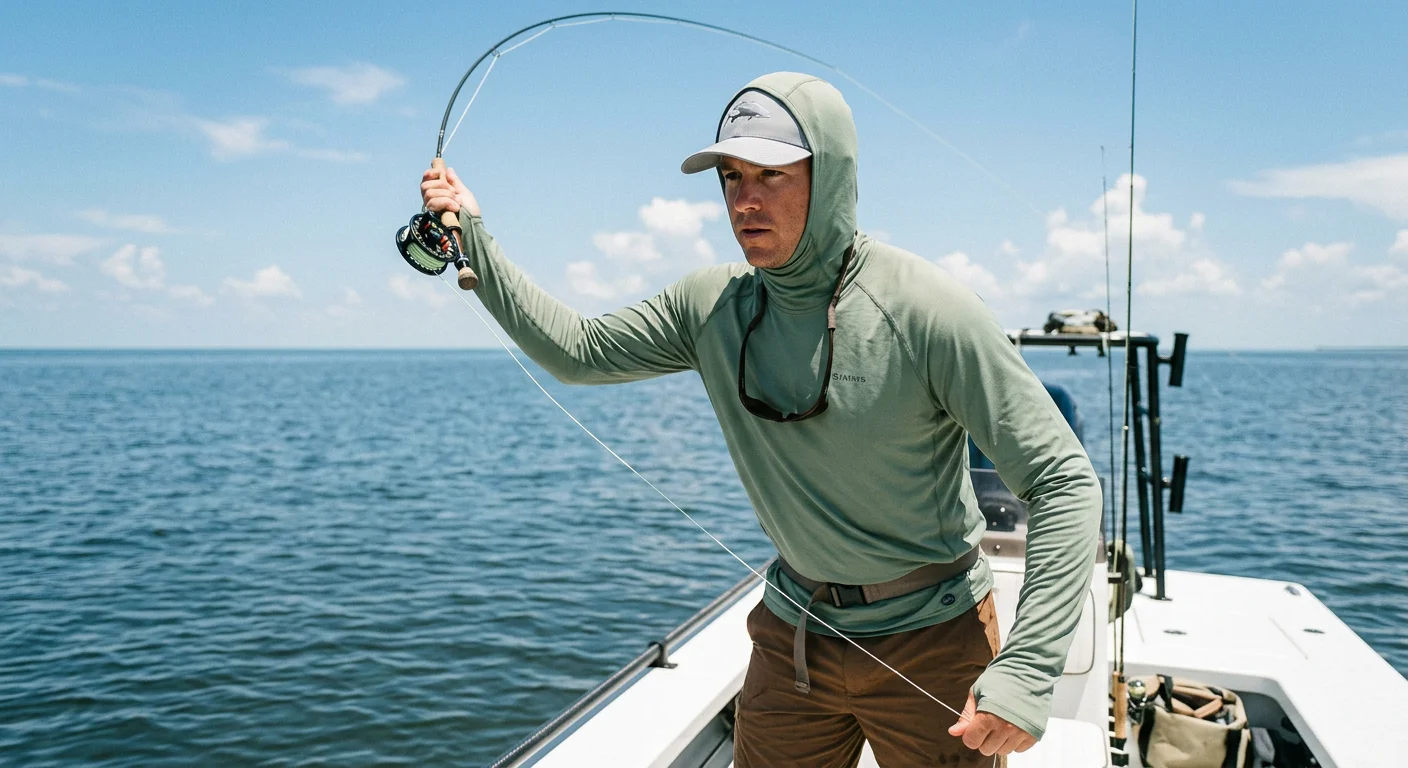
You pull on your new waterproof fishing bibs. You clip the suspenders. Then the question hits: is this how they're supposed to feel?
For serious brands entering the performance gear market, custom fishing bibs OEM/ODM development is where fit consistency actually begins.
The chest panel sits somewhere between your ribs and your collarbone. The shoulder straps dig a little on the left. And you're not sure if squatting to unhook a bass is going to split something.
That nagging did I buy the wrong size feeling? This guide kills it.
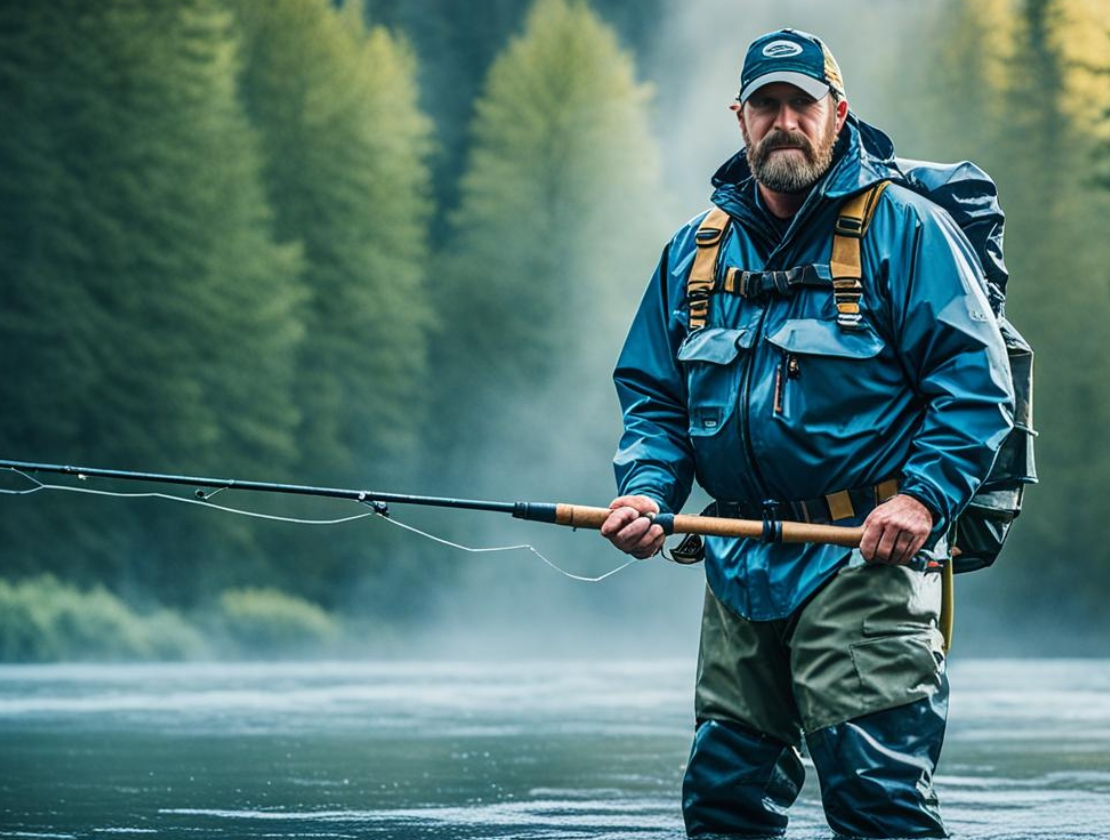
Standing in a downpour on the bow for three hours feels very different from layering fleece underneath on a January morning. Either way, fit is what separates gear that protects you from gear that just gets wet with you.
Here's what's ahead:
A five-point real-feel checklist to test fit on your body
A suspender adjustment walkthrough with actual reference points
A fast diagnosis system — know in under five minutes whether your bibs fit, or whether it's time to size up
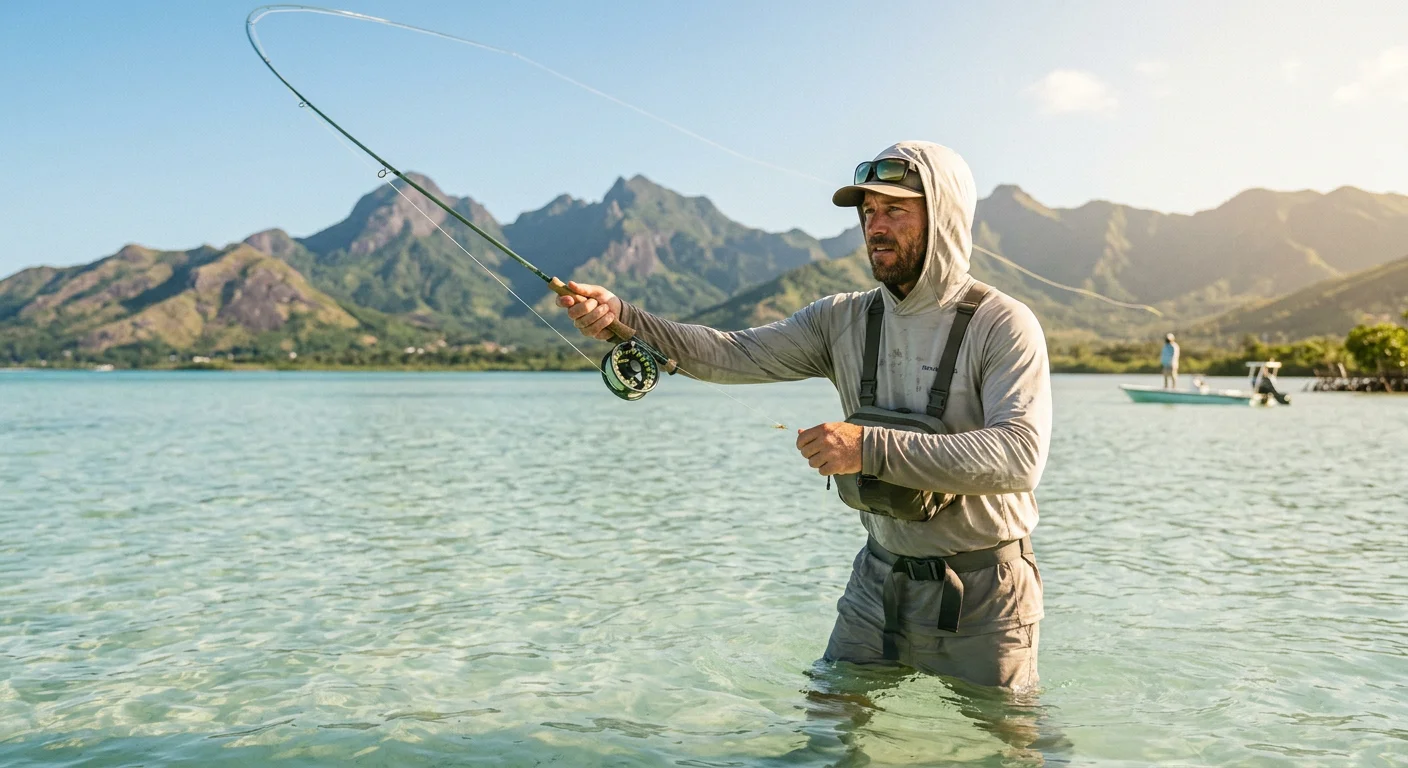
Chest-High vs Waist-High Protection: Scenario-Driven Fit Choices
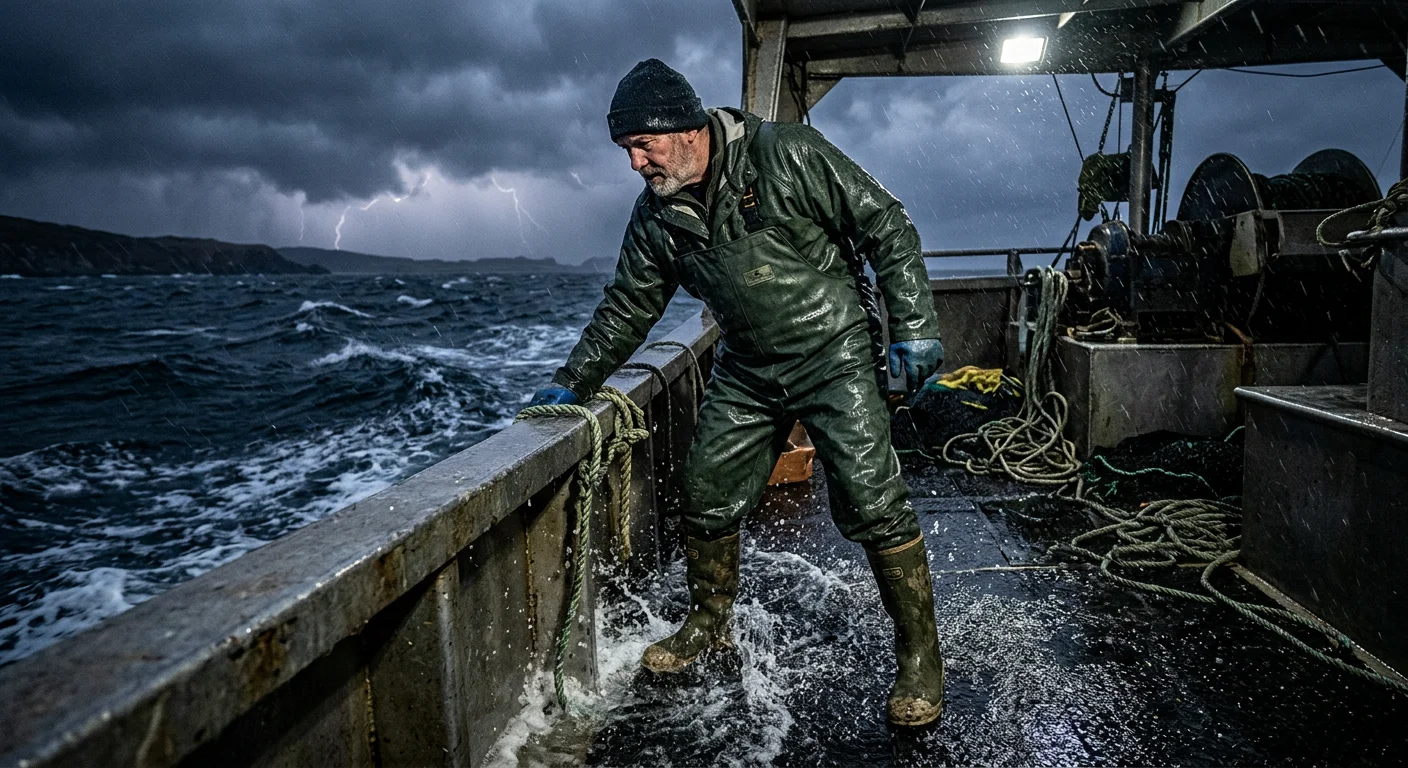
The wrong choice here doesn't just cost you comfort. It costs you dry clothes, body heat, and sometimes your footing on a slippery deck.
This is where experienced fishing bibs manufacturers separate themselves — by engineering coverage systems that match real fishing environments, not just size charts.
Chest-high bibs seal at mid-chest — around nipple-line. That coverage holds the moment you lean over the gunwale to haul in a fish, or crouch low to unhook a bass in heavy chop. The panel stays sealed against your torso. Waist-high bibs seal at the waistband. That sounds fine — until a wave hits sideways, a gust drives rain upward, or you stumble in ankle-deep current. Water finds the gap fast.
That gap isn't a design flaw. It's a physics problem. Chest-highs create a funnel effect if you go overboard. Water pours down from the open top. Waist-highs paired with a cinched belt block water hard at the seal point. Neither style wins every situation. Your fishing scenario determines which one protects you.
Match Your Scenario to Your Coverage
Activity | Choose Chest-High | Choose Waist-High |
|---|---|---|
Deep wading (above crotch level) | ✓ Required | ✗ Water funnel risk |
Boat fishing / open-water spray | ✓ Mid-chest seal holds | ✓ If no overboard risk |
Shore casting / flatwater | If waves exceed 2ft | ✓ Preferred — less bulk, faster casts |
Slippery deck / fall risk | ✗ Upper ballast destabilizes | ✓ Tight belt aids recovery |
Warm weather / all-day fishing | ✗ Strap restriction builds | ✓ No shoulder load, cooler |
Three practical rules before you decide:
Wading depth above crotch level = chest-high, no debate
Casting volume is high = go waist-high. Chest-highs with suspenders tighter than a half-inch of slack cut your arm raise. You'll feel that drag on every overhead cast.
Budget is tight = waist-highs run 20–30% less. Less material, lower price.
One easy-to-miss detail: waist-highs are faster to put on and take off — by two to three minutes. On cold mornings, that gap matters more than most people expect.
The 5-Point Real-Feel Fit Checklist: How to Verify Fishing Bibs With Suspenders
Five minutes. That's all this takes. Run through these five checks before you hit the water. You'll know whether your waterproof fishing bibs fit right — or whether you're about to spend a wet, miserable day paying for a sizing mistake.
Work through each point in order. Each one builds on the last.
High-quality fishing bibs suppliers design suspenders and fit systems to work within a controlled adjustment range — not just static sizing assumptions.
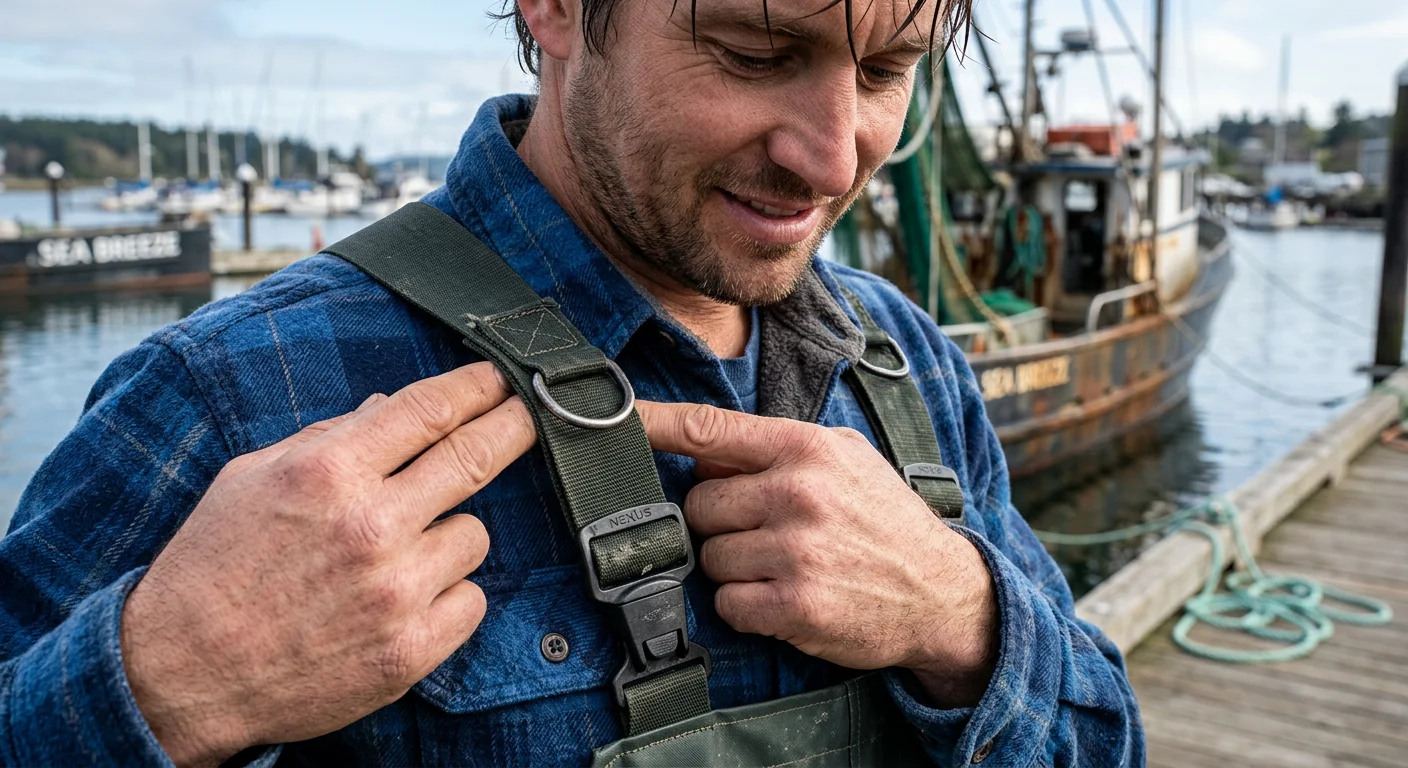
Point 1: Shoulder Tension Benchmark
Clip the suspenders and stand up straight. Now slide two fingers under the strap at your collarbone.
Both fingers should move with ease — about 1 to 2 inches of slack. That's the benchmark for a true-to-size fit on an adjustable suspender system. X-style suspenders should lie flat across your back. No twisting. No digging into the trapezius. No turtleneck sensation. No ridge forming under your rain jacket.
Can't get your fingers underneath the strap? Buckle already maxed out at its shortest setting? That's a sizing red flag — not a suspender problem.
Quick fix if you're borderline : Most quality fishing bib suspenders adjust 6 inches or more. Start in the middle of that range, not at the extremes.
Point 2: Chest Coverage Validation
Put the bibs on and bend forward at 90 degrees — like you're reaching over the gunwale to grab a line. Hold that position.
The chest panel should stay sealed against your sternum. No gap should open at the top of the bib. No fabric should pull away from your torso. That flush contact delivers the waterproof seal during overhead casting and forward lean positions. Those are the exact moments spray and rainwater find openings.
The chest panel floats away from your body at that angle? The bib is too large. The waterproof protection exists on paper, not on your body.
Point 3: Crotch Mobility Allowance
Drop into a full squat. The kind you'd hit when crouching low to unhook a bass or stabilizing yourself on a tilting deck.
Check two things at once:
- Crotch droop : More than 2 inches of fabric hanging loose means the bibs are too big. The suspenders compensate for excess volume — and that compensation fails under load.
- Seam stress : White stress lines at the inner thigh or crotch seam mean the bibs are too small. A well-gusseted crotch design allows a full 45-degree squat with zero seam tension.
Stress lines are visible? The suspenders can't fix that. That's a cut-and-sizing issue.
Point 4: Knee Articulation Test
Go from standing to kneeling — take it slow, like stepping down onto a wet deck. Then back up again.
Watch the knees. Articulated double-knee construction should track with your joint in a smooth, natural motion — no white creasing or pulling at the seam junctions. Pre-bent knee panels are built for this exact transition. Your bibs have them and you're still feeling resistance? The inseam length is probably off. Too short and it rides up. Too long and it bunches at the joint, creating dangerous slack near your feet while wading.
Cinch the ankle cuffs after this test. A snug cuff with zero water ingress gap confirms the lower fit is working.
Point 5: Layering Comfort Threshold
This is the check most people skip — and then regret in January.
Put on your base layer and a midweight fleece. Then pull the bibs on over both. That combined bulk adds about 1 to 1.5 inches to your chest and waist measurements. The chest seal should still sit flush. The suspenders should still have adjustment range left — not cranked to maximum just to hold things up.
The chest panel gaps now? Suspenders at full extension with no travel left? You're in the wrong size for cold-weather fishing. Industry-standard sizing charts account for layering — but only if you measure your chest and waist with those layers already on.
The Fast Visual Diagnosis
Still not sure? Here's the binary.
What You See | What It Means |
|---|---|
Stress lines at knees or chest seam | Too small — size up |
Crotch droops more than 2 inches in squat | Too big — size down |
Chest panel gaps on forward bend | Too big — size down |
Suspenders at full extension, still loose | Too big — size down |
Flush elastic band, no gaps in cast or bend | Correct fit |
X-suspenders lie flat, 1–2 inch collarbone slack | Correct fit |
Run the five points. Check the table. You'll know inside five minutes — and you'll make the size exchange call before a fishing trip makes it for you.
Step-by-Step Adjustable Suspender System Setup
Most suspender adjustments fail before the first cast. The hardware isn't the problem. Anglers set the straps while standing still and never test movement. Here's how to dial in your adjustable suspender system right, the first time.
Modern fishing bibs factory production standards increasingly focus on dynamic fit testing, not just flat measurement grading.
Before You Touch the Buckles: Measure First
Pull out a flexible tape measure. Run it from the top of the waistband at your back, at an angle over your shoulder, down to the top of the waistband in front. That diagonal measurement is your strap length baseline — not your height, not your chest size.
≤38 inches total : You're in small/short strap territory
38–48 inches : Standard fit range
This single number stops 90% of the "straps won't stay up" complaints.
The Six-Step Setup Sequence
Step 1 — Start loose, not tight.
Open all buckles and slide adjusters to their midpoint. Never start at maximum tightness. You need room to adjust in both directions.
Step 2 — Position the yoke first.
Set the shoulder piece as high on your shoulders as feels comfortable — before you clip anything to the bib. The yoke position controls everything else below it. Get this wrong and no buckle fix will save you.
Step 3 — Clip the front, then adjust in equal steps.
Attach both front clips to the bib waistband. Tighten both straps in small, equal increments — left and right at the same time. Uneven tension causes a lopsided shoulder dig. It feels like a fit issue, but it's a setup issue.
The movement test : Drop your arms to your sides. Make a loose fist. Your hands should reach your hip pockets without the straps pulling your shoulders back. Can't reach? Loosen a half-inch on each side.
Step 4 — Set the chest strap last.
Get the shoulder straps set first, then connect the chest strap across your sternum. Snug — not cinched. You should take a full breath and rotate your torso 45 degrees without the strap biting in. It compresses your ribcage during that rotation? Back off one notch.
Step 5 — Run the dynamic test sequence.
This is the step every instruction manual skips. Do each of these in order:
- Reach both arms overhead (simulates overhead casting)
- Hold a full squat for five seconds (simulates crouching to unhook fish)
- Bend forward at the waist 90 degrees (simulates leaning over the gunwale)
Any ride-up, gap at the chest panel, or shoulder strap twisting means you need to re-calibrate. The bibs should move with your body through all three positions with no extra adjusting.
Step 6 — Account for layers before you lock the setting.
Add 1 to 1.5 inches of strap length for fishing with a base layer and fleece underneath. Re-run the dynamic test with those layers on. Mark your final strap position — that's your cold-weather setting.
The 4-Hour Benchmark
Equal tension across both shoulder straps, with 1 to 2 inches of collarbone clearance, should give you zero shoulder dig or chafing across a four-hour session on the water. That's the standard comfort threshold for a well-fitted suspender system. Hitting discomfort before that mark? The cause is almost always uneven tension — one strap carrying more load than the other. Go back to Step 3 and reset from the middle.
Fishing Bib Sizing Guide and Torso Measurement Protocols
Sizing charts lie. Not out of bad design — they just don't know your body.
A chart says Large. Your torso says Medium. Your layering plan says Large again. Somewhere in that contradiction, you end up with bibs that gap at the chest or bind at the knees. The fix isn't guessing harder. It's measuring smarter — in the right places, in the right order.
At the production level, fishing bibs wholesaler distribution systems rely heavily on standardized torso-to-inseam mapping to reduce return rates.
Measure Your Torso First. Height Is Secondary.
Most people size bibs by height. That's the first mistake. Chest circumference plus inseam overrides total height for chest-high bibs. The chest panel needs to sit flat on your sternum. That depends on your torso length — measured from your C7 vertebra down to your iliac crest. Height doesn't tell you that. Torso length does.
Here's how to get it:
Step 1 — Find your C7. Tilt your head forward. Feel for the bony bump at the base of your neck. That's your 7th cervical vertebra. Mark it.
Step 2 — Find your iliac crest. Place both hands on your hips. The top ridge of your hipbones is your iliac crest. You're measuring to the midpoint of that plane at your rear spine.
Step 3 — Measure with a flexible tape. Have someone run it straight down your spine from C7 to the iliac crest midpoint. Record that number.
Torso Length | Recommended Size |
|---|---|
15"–18" (or under 5'6") | Small |
18"–21" (or 5'6"–6'0") | Medium |
21"–24" (or 5'10"–6'4") | Large |
24"+ (or over 6'4") | X-Large |
Border sizing rule : Your torso measures 17", 19", or 21" — right on the boundary — size up, not down.
Body Measurements: Where to Tape and Why It Matters
Chest : Tape at the fullest point, under your armpits and over your shoulder blades. Keep it firm and level. Don't pull tight.
Waist : Natural waistline, over undergarments. Not your belt line.
Inseam : Top of inner thigh to bottom of ankle. This one controls water ingress and tripping risk. It needs to line up with your boot height — 30–32 inches covers most people.
For chest-high bibs: put chest and inseam first, not hip measurement . The bib's volume above the waist takes care of hip fit on its own.
Material Type Changes Your Numbers
Each bib construction needs its own approach. Don't carry the same measurement across all of them:
Neoprene bibs with 3-layer stretch membrane : Subtract 2 inches from your chest and waist before checking the size chart.
Rigid PVC-coated bibs : Use your raw measurement. No reduction needed.
Stretch fabrics : Measure snug. The cut already has 1–2 inches of compression fit built in.
Body Profile Adjustments
Broad shoulders, narrow waist : Match your chest measurement for shoulder strap fit. The suspender system takes care of the waist gap. Inseam stands on its own — don't let it push your chest size decision in either direction.
Long torso, shorter inseam : Take both measurements on their own. Chest-high construction handles torso volume well, but check that the inseam lands at boot height before you commit.
The Cold-Weather Sizing Rule
Heavy fleece and wool layering adds real volume. The rule is straightforward:
Heavy fleece or wool : Go up one full size
Hoodie plus sweatpants : Standard size holds
More bulk than that : Go up one size, no exceptions
Measure your chest and waist with your intended layers already on . That's the number the size chart needs — not your bare measurement from a warm afternoon in July.
Six Rules That Prevent the Return Shipment
Measure chest and inseam first. Height is a reference point, not a decision driver.
Torso length from C7 to iliac crest tells you whether a chest-high bib seats right on your sternum.
Add one full size for heavy winter layering.
Subtract 2 inches for neoprene stretch fabric. Use raw numbers for rigid PVC.
Inseam must match boot height — water gets in and trip hazards form when it doesn't.
Between sizes? Size up — unless you're buying AFTCO Hydronaut. That model runs large, and their fit guide says sizing down is fine.
Rapid Fit Diagnosis: Identifying Too Loose, Too Tight, or Exact
Bad fit has a signature. You just need to know what you're reading.
Run through this sequence before your first cast — or right now, standing in your living room. It takes under five minutes. Here's what to look for: visible stress marks on the fabric, movement restrictions in your joints, and gaps that funnel water into places you paid to keep dry.
Too Loose — What Your Body Is Telling You
Loose bibs don't feel roomy. They feel unstable.
1.Chest panel lifts on forward bend. Lean to 90 degrees. The panel peels away from your sternum. That's not a loose fit — that's an open gate for water.
2.Crotch droops past 2 inches in a squat. Squat down. Measure the hang with your fingers. More than two inches of loose fabric means the suspenders are picking up the slack from excess volume. Load them with movement and they stop doing that job.
3.Suspenders at full extension with slack remaining. Both straps cranked to their longest setting. Still no tension against your shoulders? You're in the wrong size. No buckle adjustment fixes that.
Too Tight — The Signals Most Anglers Dismiss
Tight bibs feel like confidence at first. Then they feel like a trap.
1.White stress lines at the inner thigh or crotch seam. Visible. Clear. Non-negotiable — size up.
2.Suspenders maxed at shortest setting on the first clip. No room to loosen means no room to layer underneath.
3.Restricted arm raise. Reach both arms overhead. The shoulder straps pull back hard before you hit full extension? Your overhead cast takes the hit. Every rep, every session.
Exact Fit — Three Confirmations
Correct fit gives you three clean signals at once:
1.1–2 inches of collarbone slack under the suspender strap — firm, not floating
2.Chest panel stays flush through a full 90-degree forward bend, no gap at the sternum
3.Full squat with zero seam stress — no white lines, no fabric fighting your legs
All three present? You're done. That's your fit.
Conclusion
Your bibs shouldn't be a guessing game you lose on the water.
Run the 5-point fit check before your next trip. Shoulders seated without dig. Chest panel riding high enough to block that rogue wave. Suspenders adjusted to the two-finger rule. Enough crouch room to haul a fish out of a livewell without a seam giving out. That's not a wish list. That's your baseline.
For long-term performance consistency, many anglers eventually switch to private label fishing bibs programs to ensure repeatable sizing and better field-tested fit control.
Waterproof fishing bibs that work versus ones that fail you at 6 AM in a downpour — the gap comes down to ten minutes of solid adjustment. Not luck. Not sizing up "just in case." Not cinching the straps until your shoulders ache by noon.
You now have the exact checklist. You have the suspender steps. You know what too loose feels like versus just right .
Go adjust. Go test. Then go fish — without once thinking about what you're wearing.